

How To Assemble Foundationless Frames
Assembling or building foundationless frames for bee hives is pretty easy to do and can save you about $1 per frame on cost. But this can lead to $100 in frustration if you don’t manage them well. Click here to learn more on managing foundationless frames.
There are several variations of foundationless frames we have made in the past few years. After exploring a number of them, we have landed on our favorite.
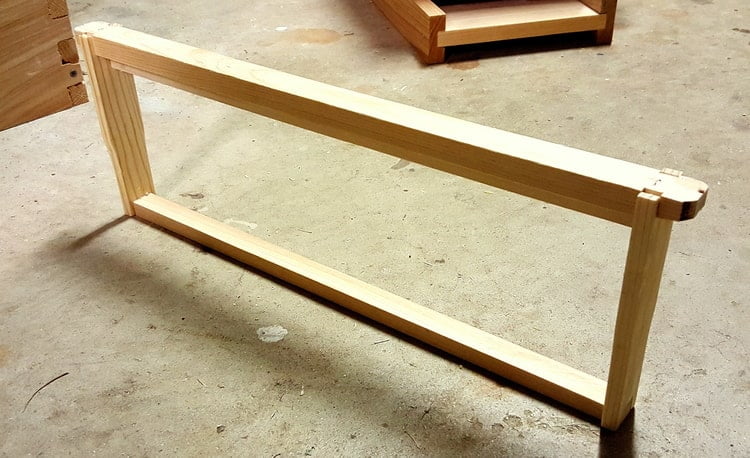
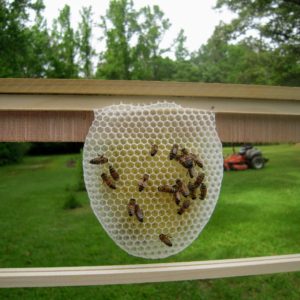
All of these variations have been tried. However, our favorite way to make foundationless frames is with a grooved top bar, a thin wooden starter strip, and a solid bottom bar. This combination is the ideal way to use foundationless frames in a Langstroth hive.
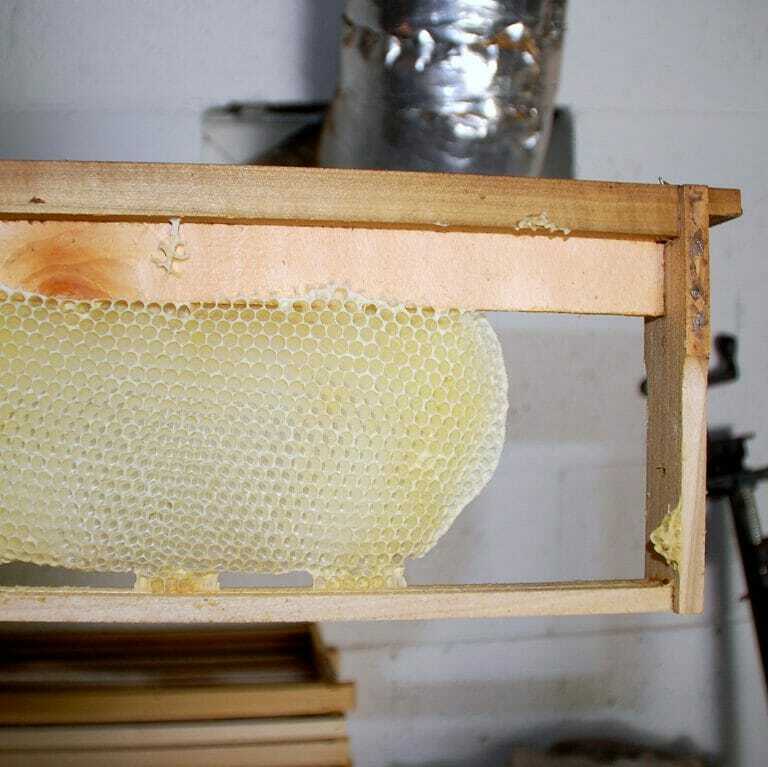
The solid bottom bars do not give small hive beetles a place to harbor in a foundationless frame. This is why we like them so much. The more nooks in a hive, the more space beetles have to live. If every frame had an open, grooved bottom bar, there would be a lot of space for beetles to live in.
All of these variations have been tried. However, our favorite way to make foundationless frames is with a grooved top bar, a thin wooden starter strip, and a solid bottom bar. This combination is the ideal way to use foundationless frames in a Langstroth hive.
The solid bottom bars do not give small hive beetles a place to harbor in a foundationless frame. This is why we like them so much. The more nooks in a hive, the more space beetles have to live. If every frame had an open, grooved bottom bar, there would be a lot of space for beetles to live in.
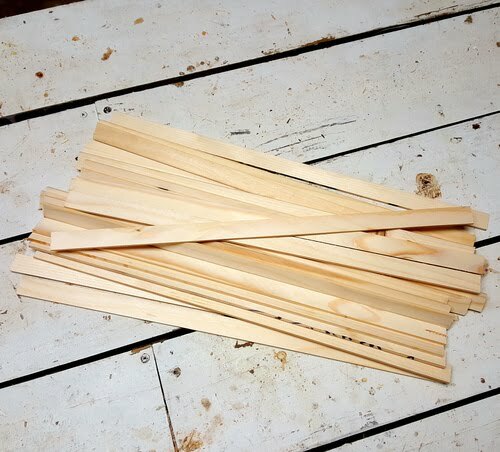
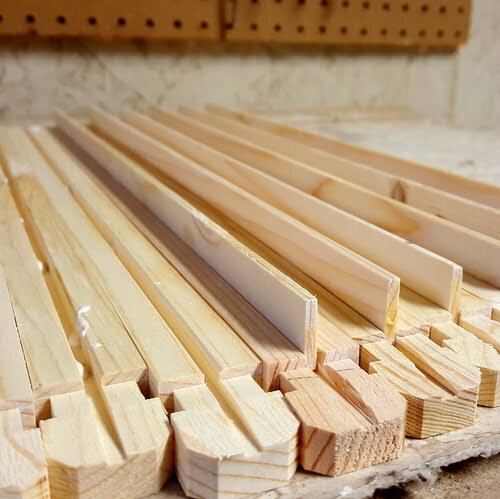
Step 1 – Cut clear (knot free) 3/4-inch thick wood boards into strips the length of the groove and just narrower than the width of the groove in the top bar. You would need a table saw to do this. If you can’t cut any wood for this, these are a good alternative.
Step 1 – Cut clear (knot free) 3/4-inch thick wood boards into strips the length of the groove and just narrower than the width of the groove in the top bar. You would need a table saw to do this. If you can’t cut any wood for this, these are a good alternative.
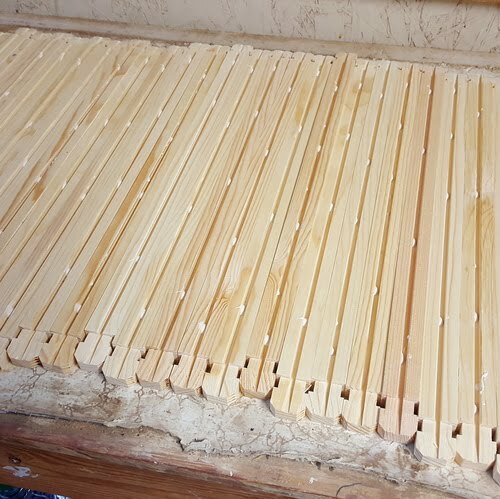
Step 2 -Line each grooved top bar side by side, with the groove facing up. Place several drops of wood glue the length of each grove. This is the glue we use and we highly recommend it for assembling boxes or frames
Step 2 -Line each grooved top bar side by side, with the groove facing up. Place several drops of wood glue the length of each grove. This is the glue we use and we highly recommend it for assembling boxes or frames
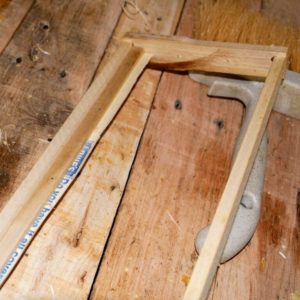
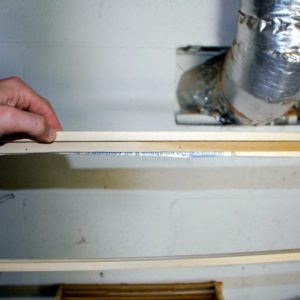
Step 3 – Press a starter strip into the length of each groove, pressing firmly into the groove (be sure not to place the strip beyond the edges of the groove). Let dry.
Step 3 – Press a starter strip into the length of each groove, pressing firmly into the groove (be sure not to place the strip beyond the edges of the groove). Let dry.
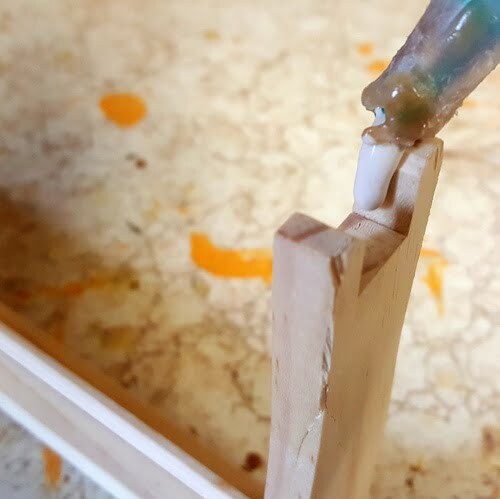
Step 4 – Spread wood glue into the wide slot of each side bar and press onto either side of the top bar. Secure with nails or staples.
Step 4 – Spread wood glue into the wide slot of each side bar and press onto either side of the top bar. Secure with nails or staples.
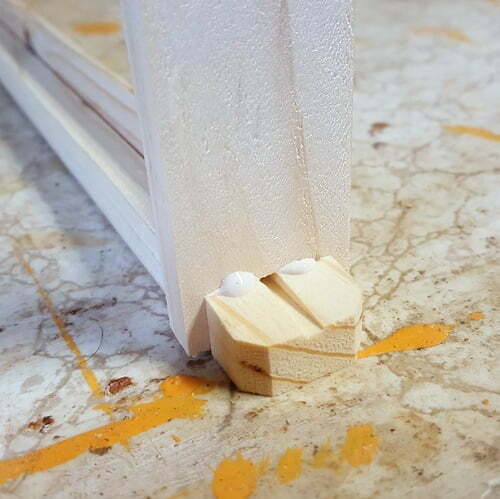
Step 5 – Spread wood glue onto the narrow side of each side bar and press bottom bar onto either side of the side bars. Secure with nails or staples.
Step 5 – Spread wood glue onto the narrow side of each side bar and press bottom bar onto either side of the side bars. Secure with nails or staples.

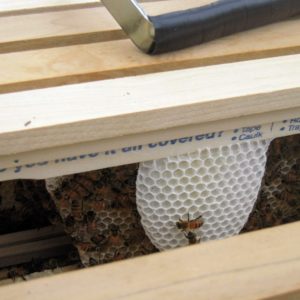
Small hive beetles are a problem in much of the southern United States. We are based in Birmingham, AL and have been dealing with small hive beetles for a long time.
We have found the best way to prevent a problem is to keep beetle numbers low. There are several ways to keep their numbers low, but minimizing spaces for them to hide is a great place to start. If buying grooved bottom frames (which typically come with grooved top frames), it is good practice to fill the bottom groove with something.
We have assembled 10,000 frames and counting and these are the 4 tools we have found that work best for us. There are different staples and air staplers available, but this wood glue, titebond 3 and these acid brushes are excellent and we highly recommend them.
We have assembled 10,000 frames and counting and these are the 4 tools we have found that work best for us. There are different staples and air staplers available, but this wood glue, titebond 3 and these acid brushes are excellent and we highly recommend them.


The 1st is to make a solid bottom bar to replace it, which is more work. We have them here if you are interested.
2nd option is to cut another thin piece of wood to fit in the groove and glue it in similar to the top bar. Leaving as little wood protruding above the bottom bar as possible.
The 3rd option is to place a paint stir stick in the bottom bar groove with glue, then snap it off flush with the bottom bar.
Happy Beekeeping
Disclaimer: This post contains affiliate links.